

The "Glamor" Shots
(Download the big animation (3MB) if you are on cable, modem users...probably quicker to just do the swap!)
(Download the big animation (3MB) if you are on cable, modem users...probably quicker to just do the swap!)
10-18-02
Well, here we are...5-1/2 months...99%
done!! Granted, I didn't HAVE to have this car running for a daily
driver so I wasn't in a huge rush to get it going. There was also
plenty of custom work and un-expected headaches that slowed me down, but
here it is...running good, no codes, been to the car wash...it's looking
about as good as I think it ever will...so here are some shots of the work!
All photos are clickable for larger image.
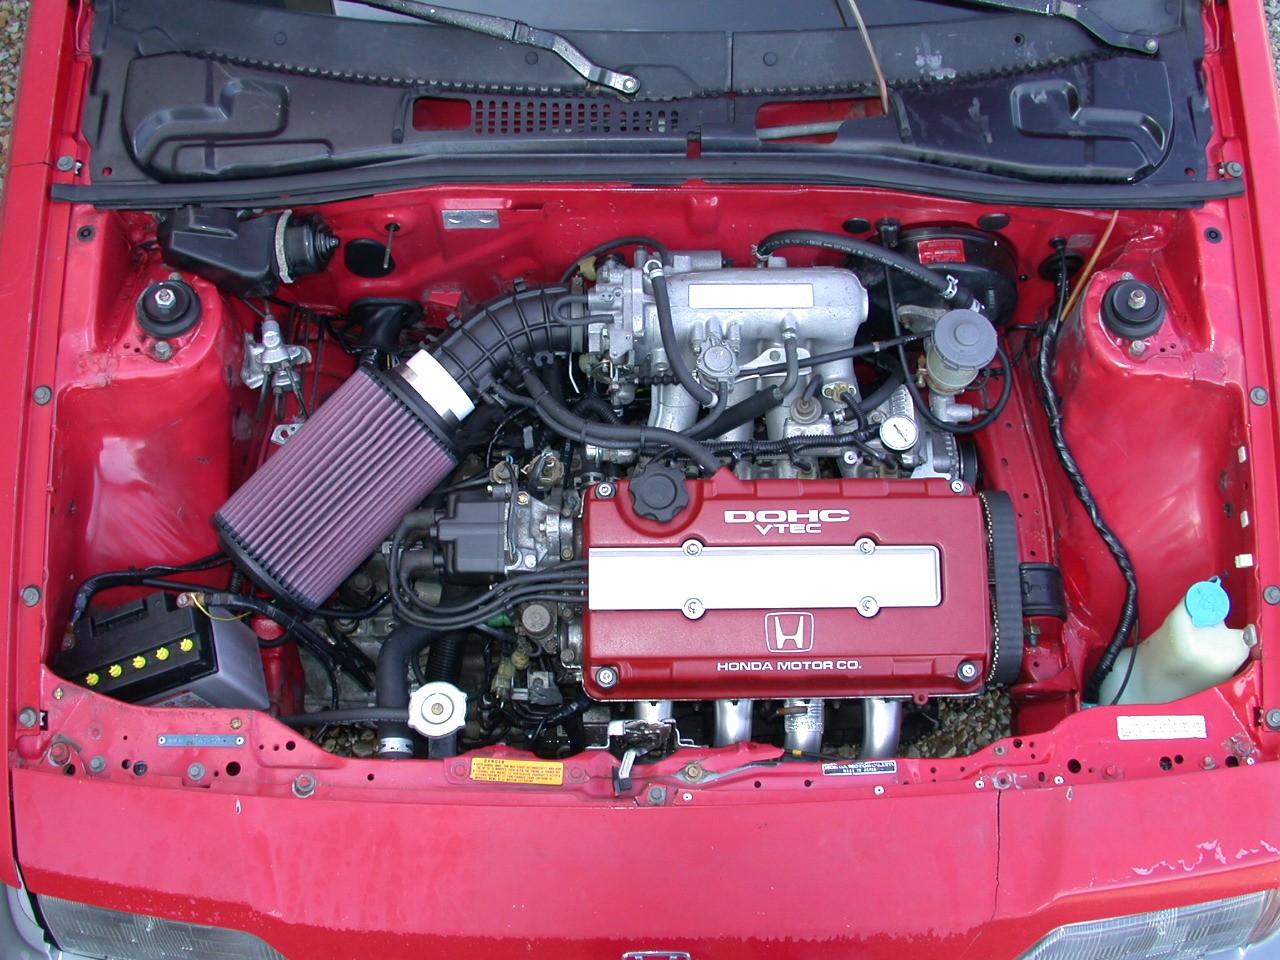

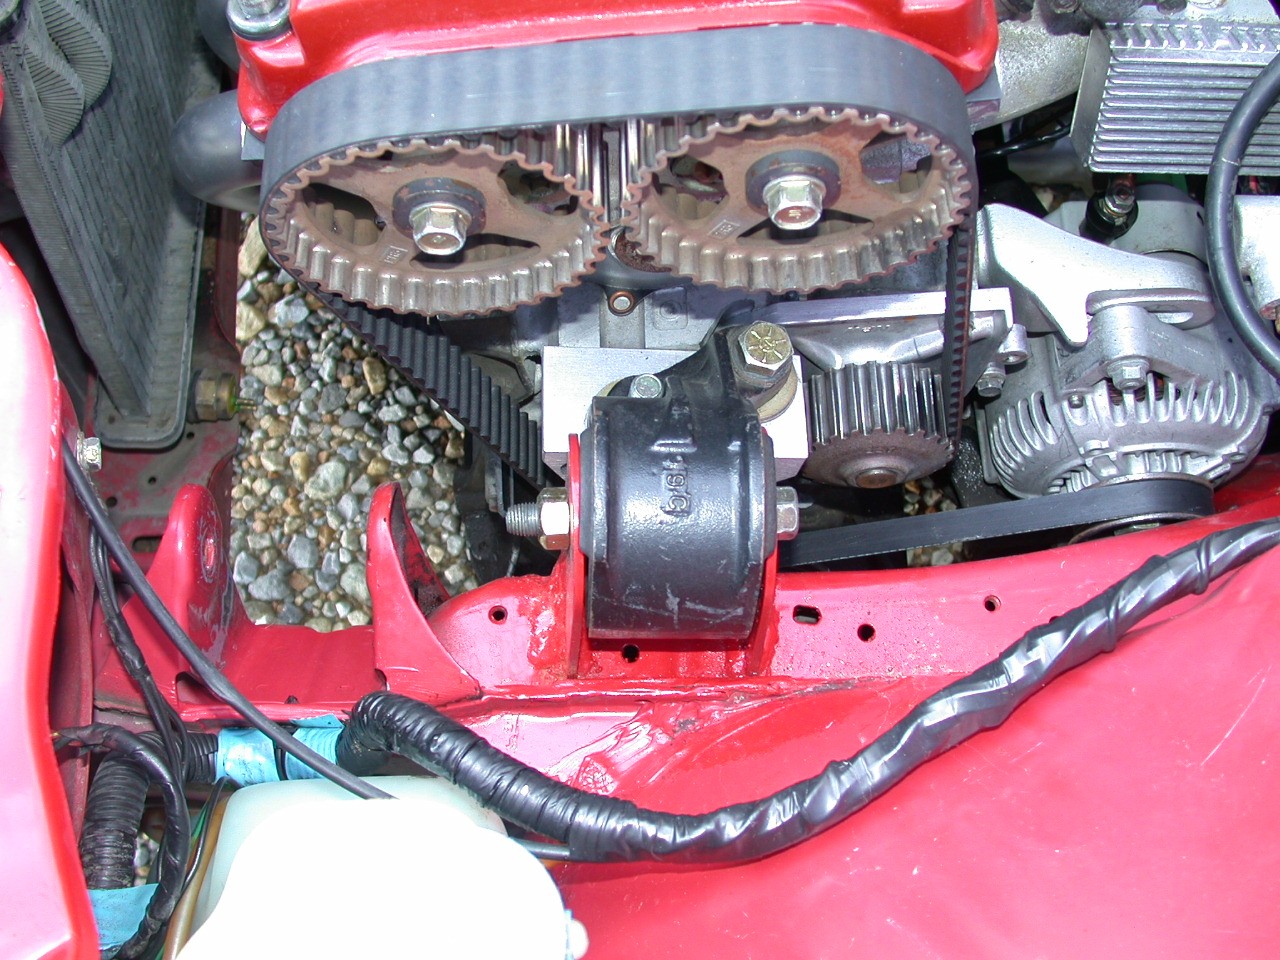
Reverse angle looking into the engine bay. You can just make out the transmission mount welded to the frame rail and a few loose wires that need to be tied up!
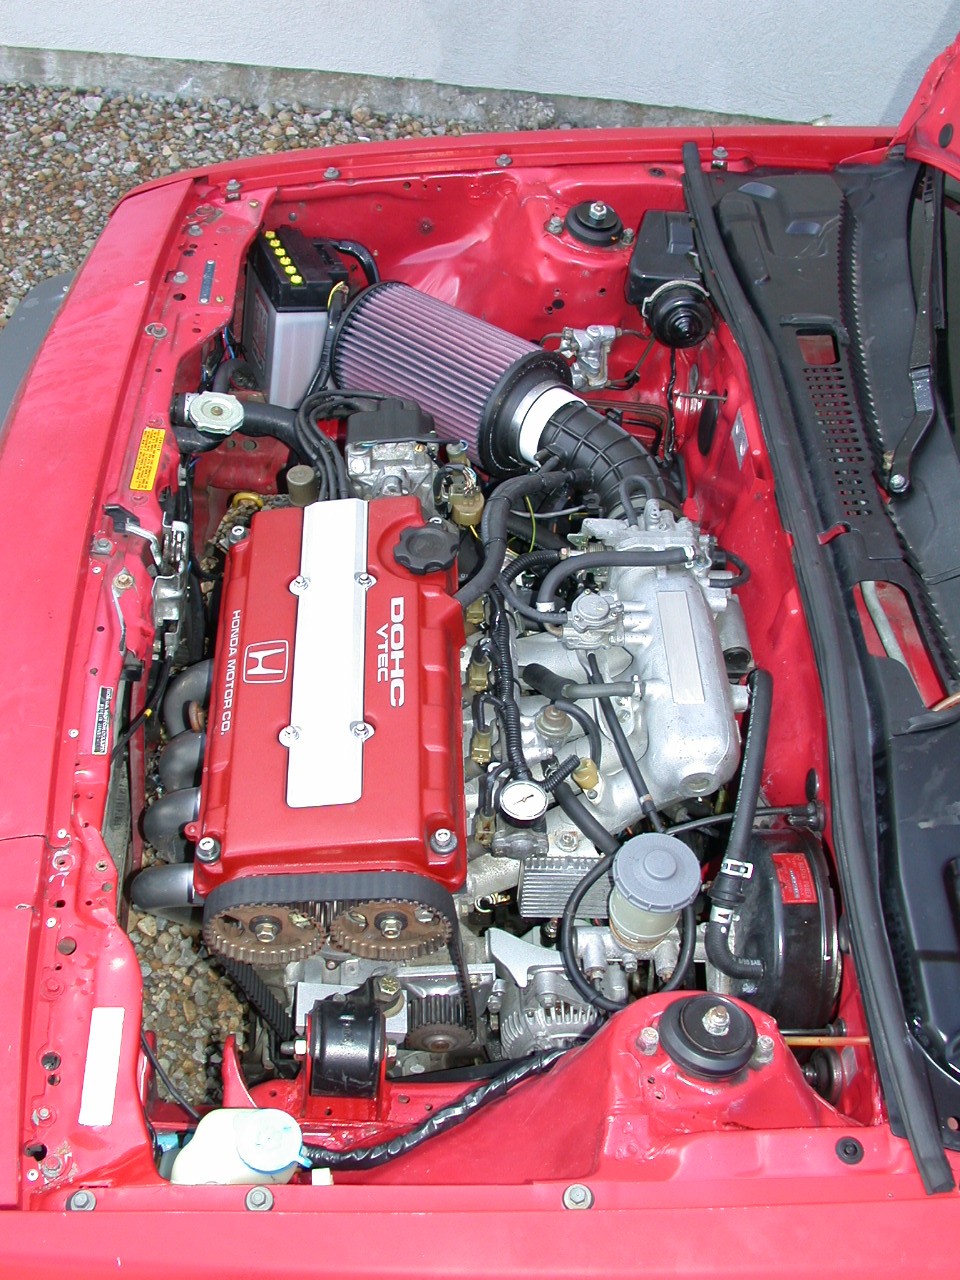
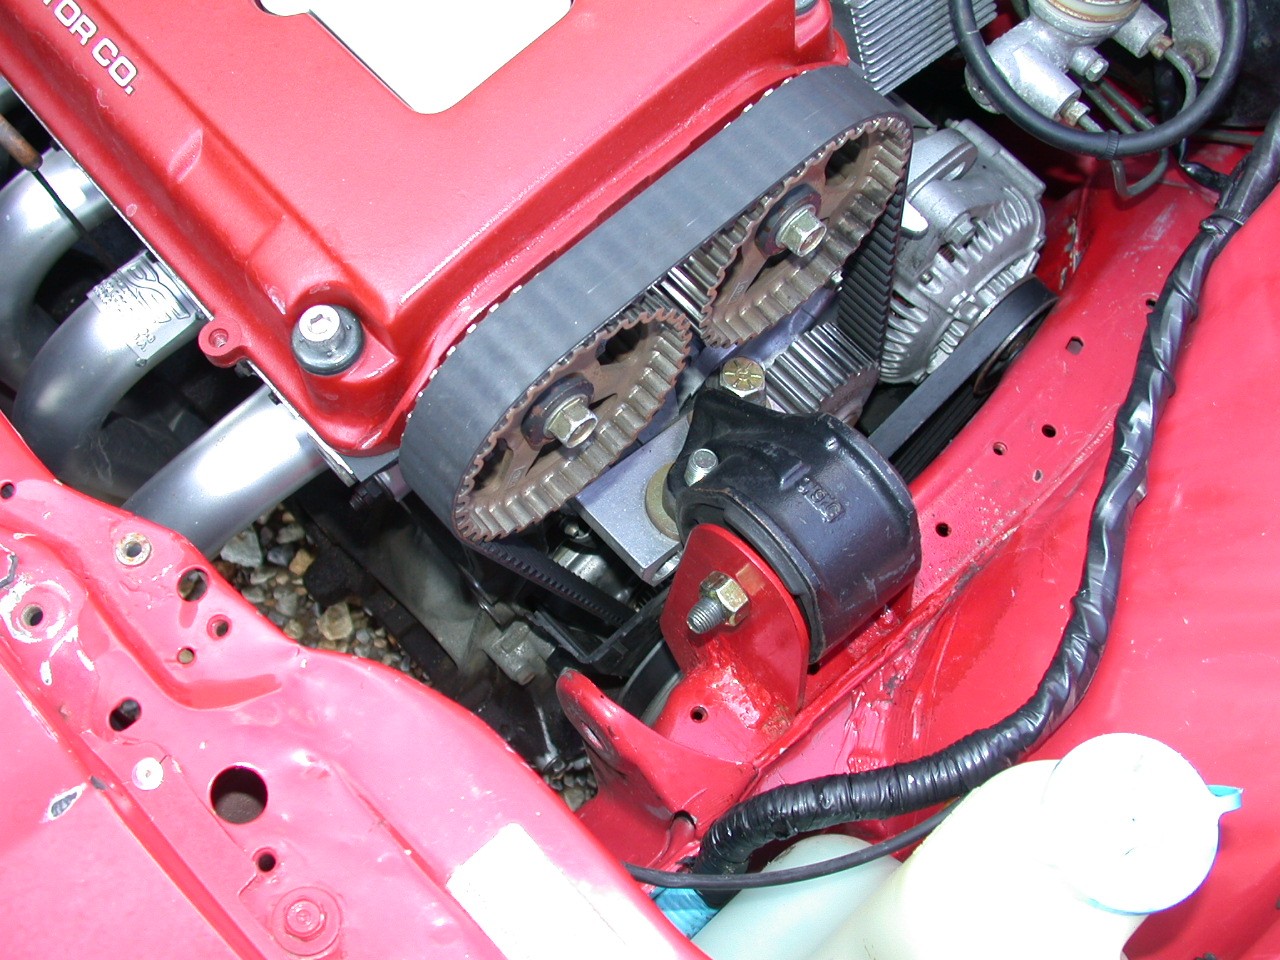
Another shot at the drivers side.
You can just make out the slight bit of massaging I did to the frame rail
to get the alternator to fit and see how well the paint on the valve cover
and on the homemade engine mount bracket touch-up matches the stock CRX.
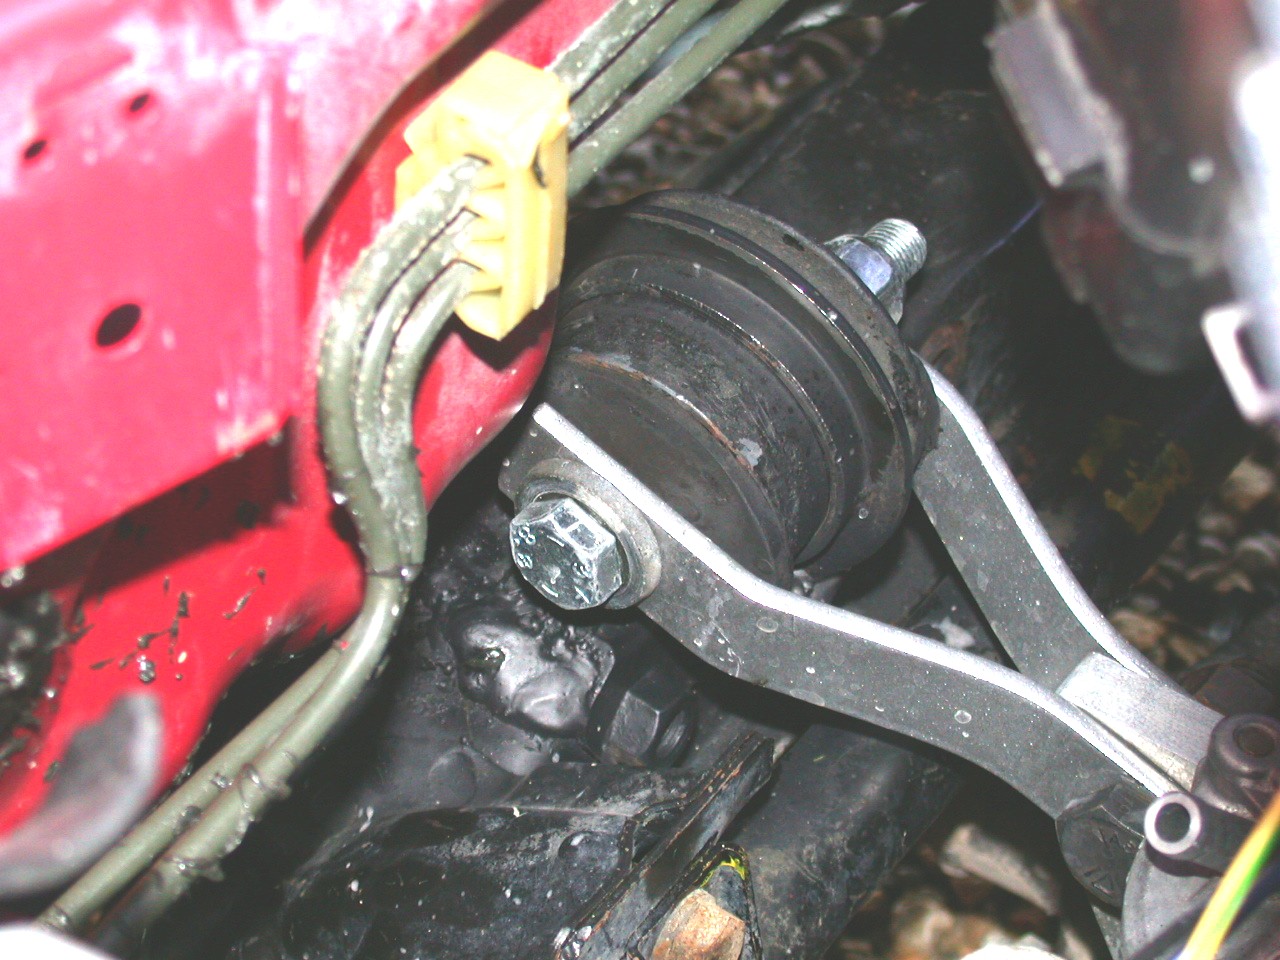
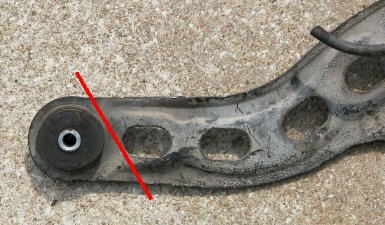
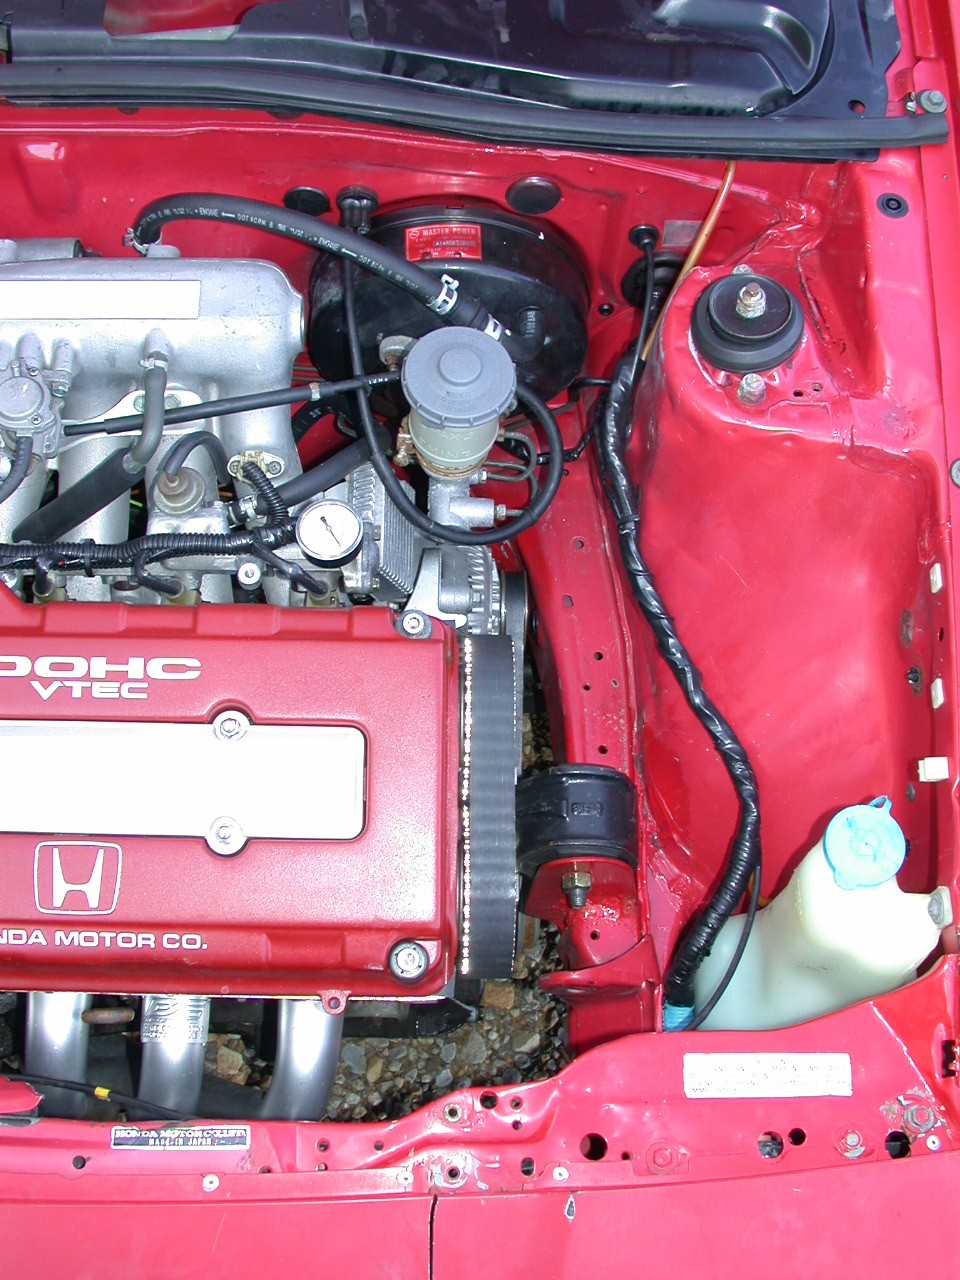
Shot looking at the fire wall and the homemade anti-torque mount. This is actually the cut-off end of one of the old Integra trailing arms. (I suppose any arm with a nice meaty rubber bushing would do) I disassembled the stock CRX rear engine mount and set the base plate on fire to burn all the rubber off. Once that was gone, I welded the Integra bushing into place and fabbed up a couple of steel brackets to link it to the transmission. You can also see where the freshly packed CV joints have slung grease all over everything!
More Later!