A brief tutorial on how I made the
patterns for the engine mounts.
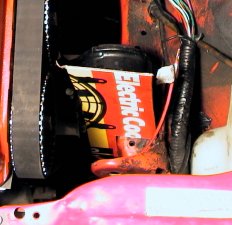
First of all, the engine needs
to be in the proper location with respect to the half shafts and other
reference points. Once that is completed, I mounted the rubber mounts
to the engine and cut a cardboard template to fit the frame and fill the
space where the mount sits.
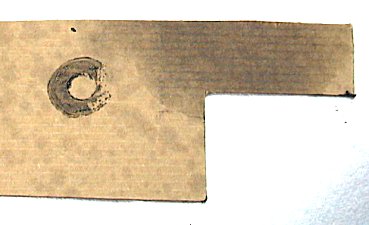
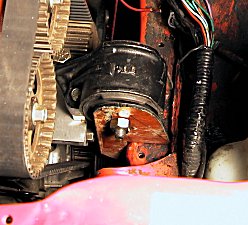
Once the cardboard fits without
interfering with anything, I need to know where the center hole of the
motor mount will fall on the pattern. I applied a small amount of
grease to the steel insert, re-fitted the cardboard taking care to apply
pressure over the greased area, but being careful not to move the cardboard
which would smear the transfer. The area of the hole is neatly transferred
to the cardboard.
Once the area of the hole is known,
a few lines can be added for trimming, so it doesn't look like too much
of a hack job.
The pattern is then cut out
with scissors and test fitted back on the car. If all looks well,
the pattern can be traced on to the plate steel. From there the bulk
shape can be cut with plasma, gas torch, saw, grinder, or any other tool
at hand.
Once the steel is fitting good,
and any adjustments have been made, I do the grease trick one more time.
This time, the location of the center hole is transferred directly onto
the steel. A center point is then established and the proper size
hole can be drilled.
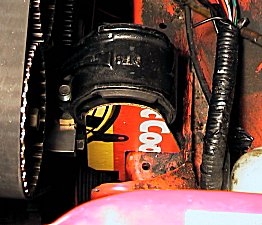
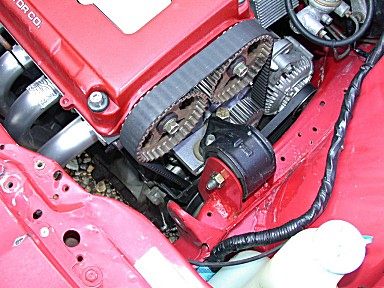
The last step is to bolt up the
new creation...looks like a good fit to me! Once I am done with the
transmission mount and the torque mount on the back of the engine, I will
tack weld everything into place, drop the engine, and give everything a
full force weld job. After that, the engine can be re-mounted in
it's new home, and all the vitals can be hooked up.
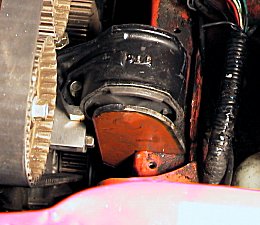
Here is a shot of the final product
once welding and painting are complete. It's not the most glamorous,
show quality mount around, but for 2 cents worth of scrap metal and an
hour of time versus $650 bucks for off-the-shelf mounts, I can live with
that!